Customizing a Slice
Once you've chosen the items to include in a slice (based on Issue Type or a JQL query), you can adjust various aspects of their appearance or behavior by clicking the +New section menu and selecting the properties you want to customize.
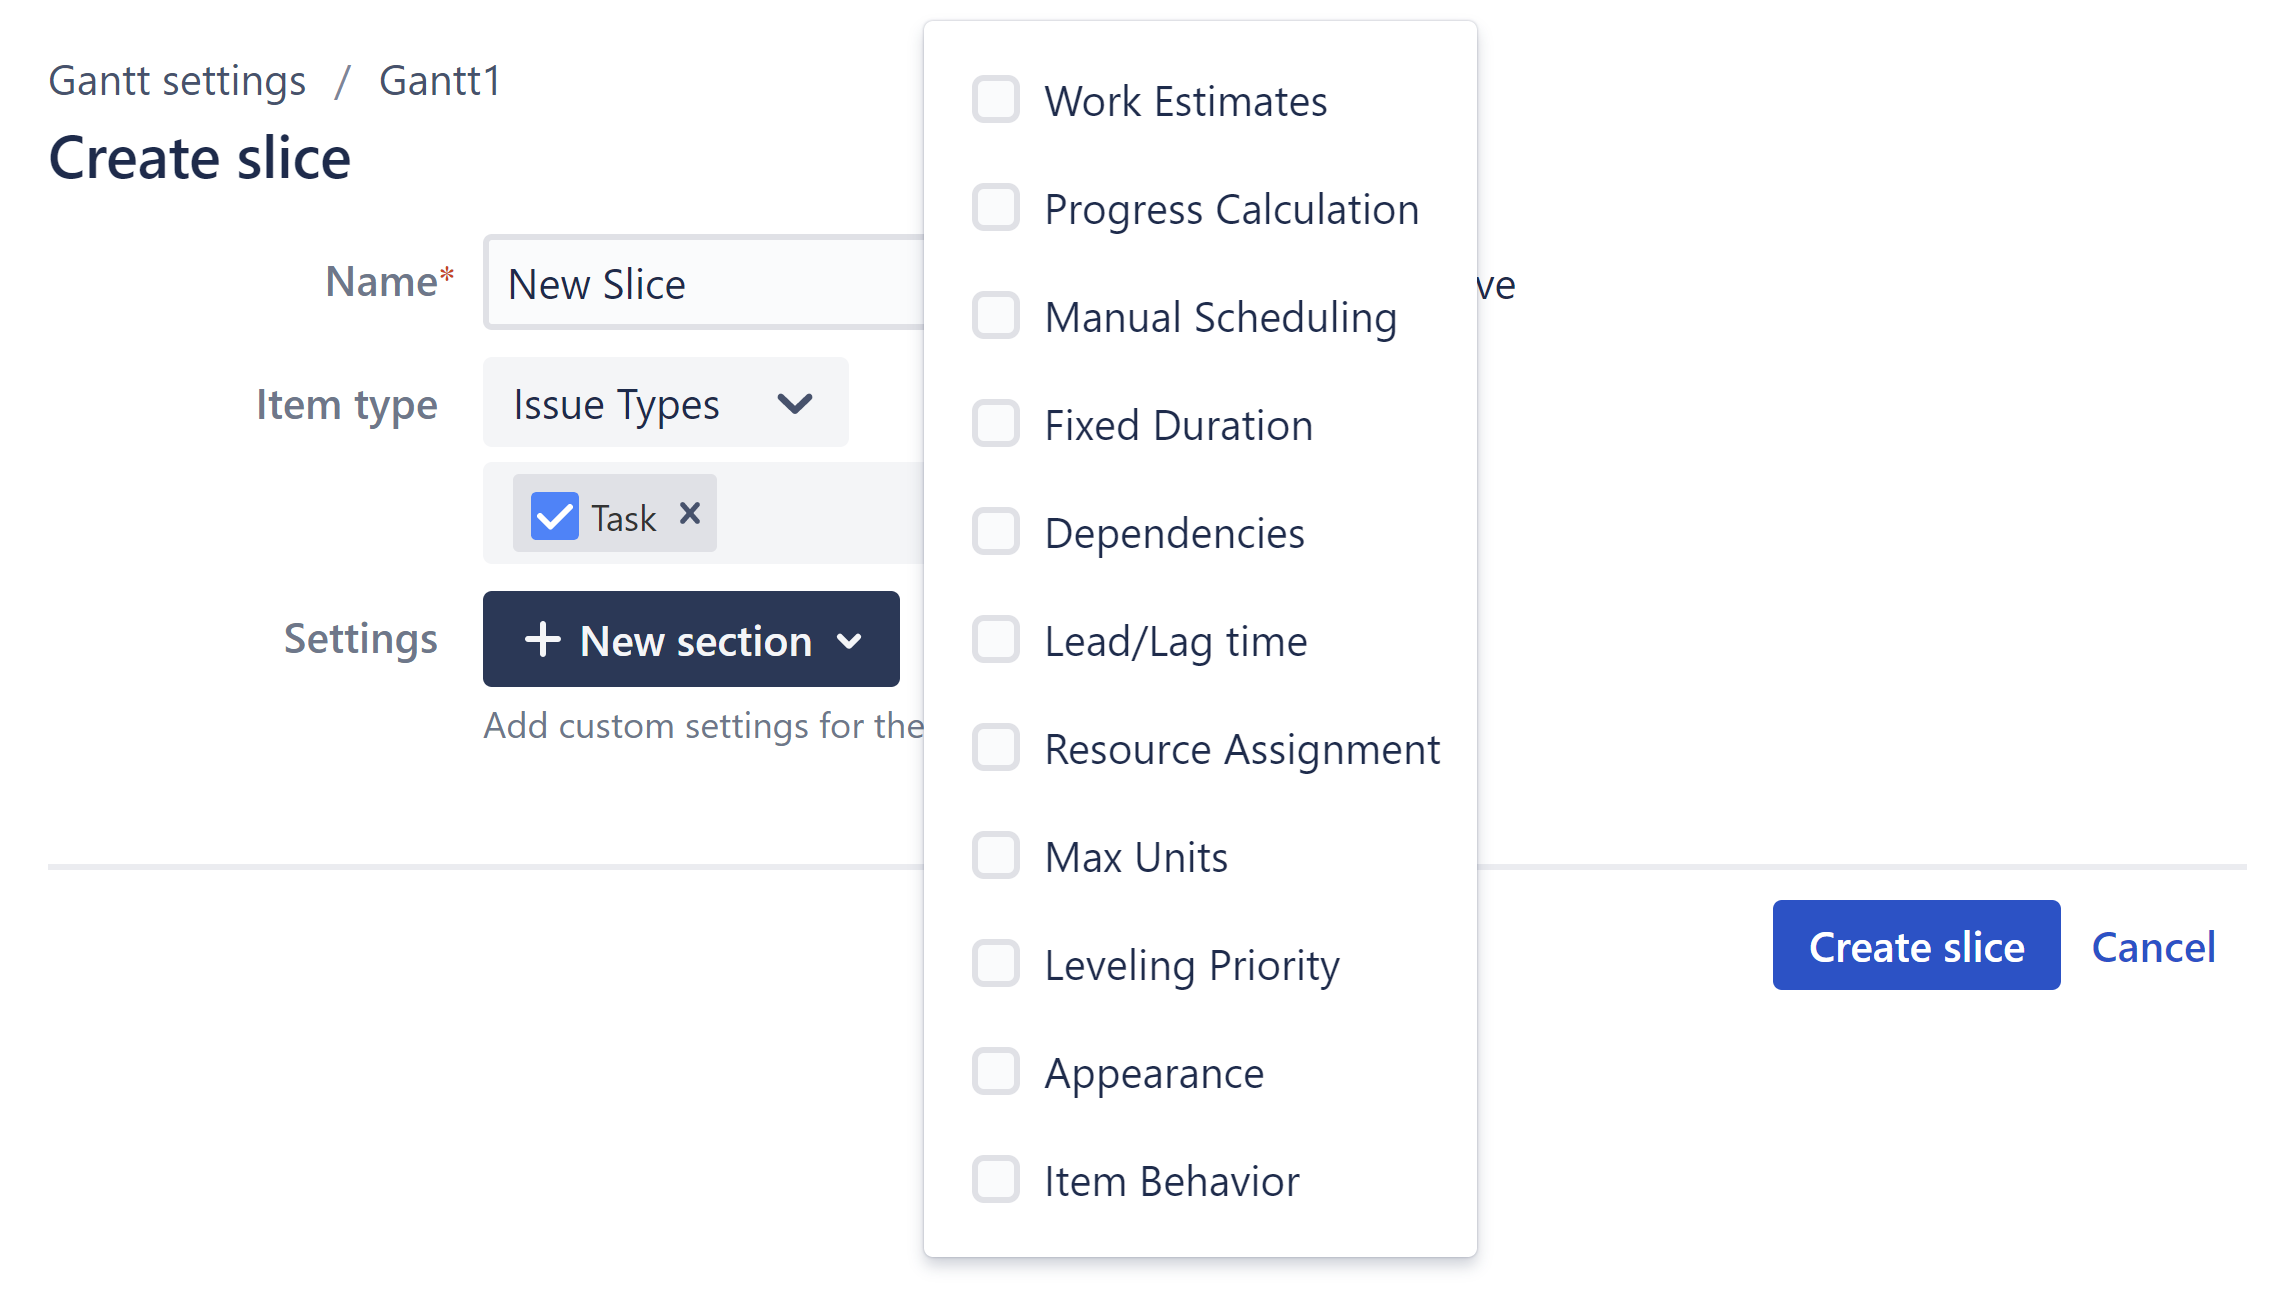
The following properties can be customized for each slice:
You can include as many or as few sections in your slice configuration as you need. If you do not specify a custom property within your slice configuration, the default configuration will be used.
Work Estimates
By updating this section, you can apply custom work estimates to any issues matching your slice criteria.
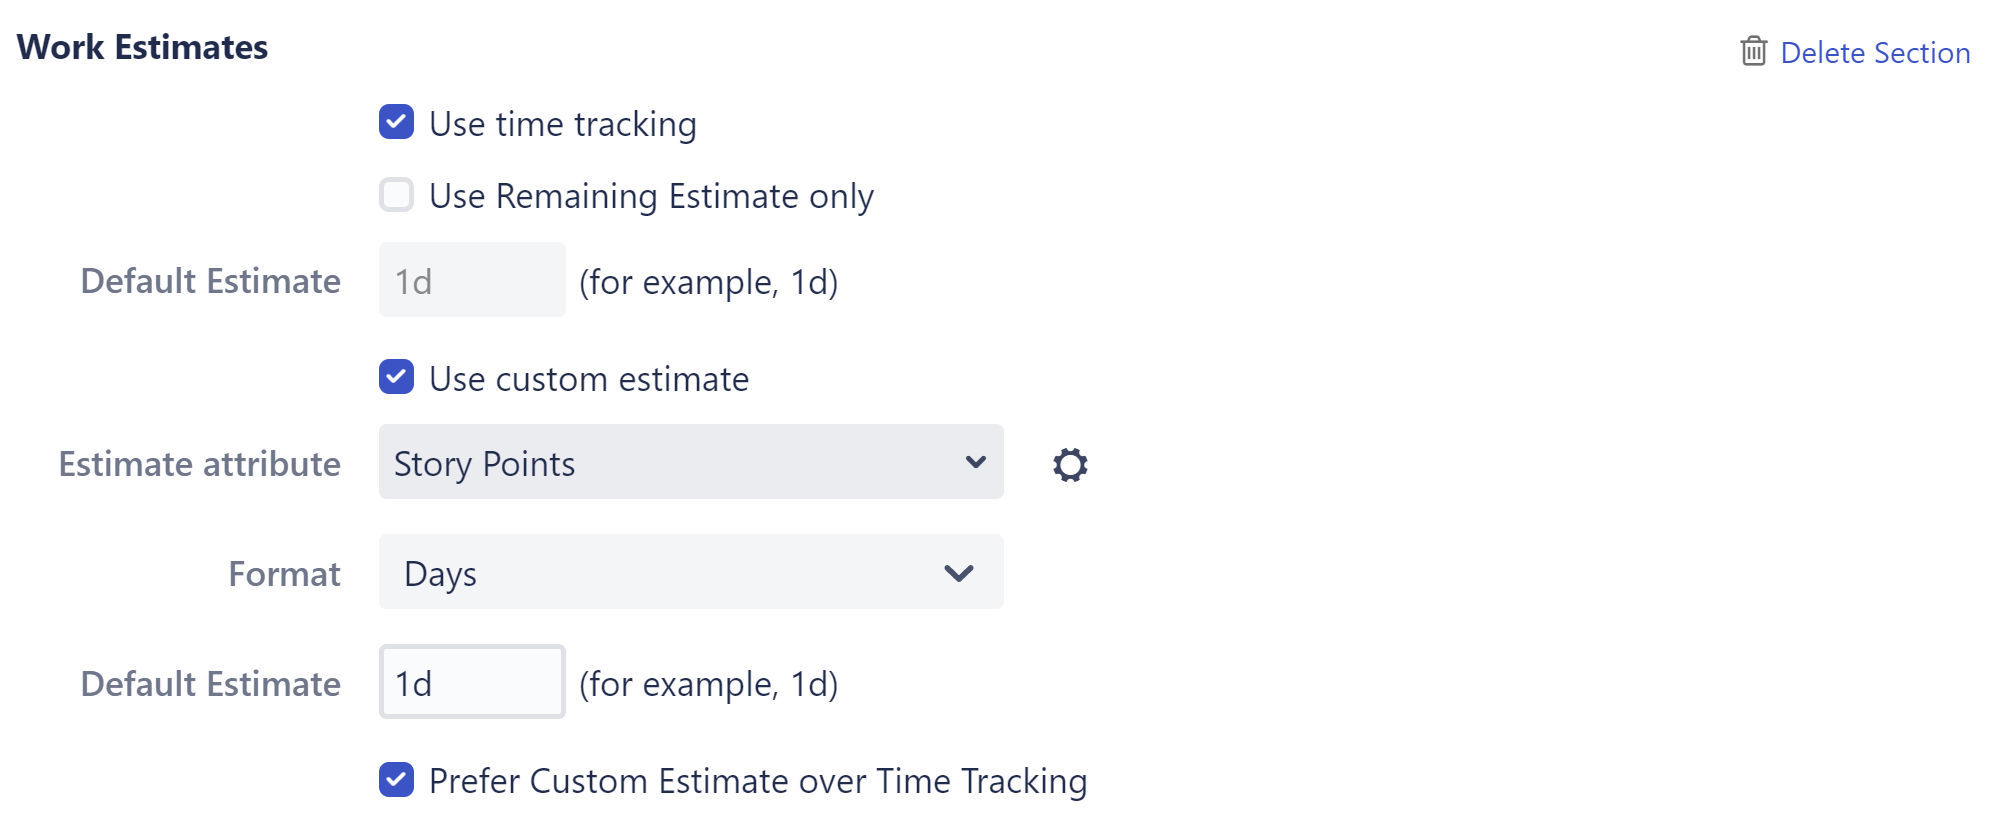
In the example above, time estimates for issues included in the slice will be calculated based on Story Points, regardless of the default configuration.
To learn more about setting work estimates, see Work Estimates Configuration.
Progress Calculation
You can specify a unique method of progress calculation for issues within the slice.

For more information about configuring progress calculation, see Progress Configuration.
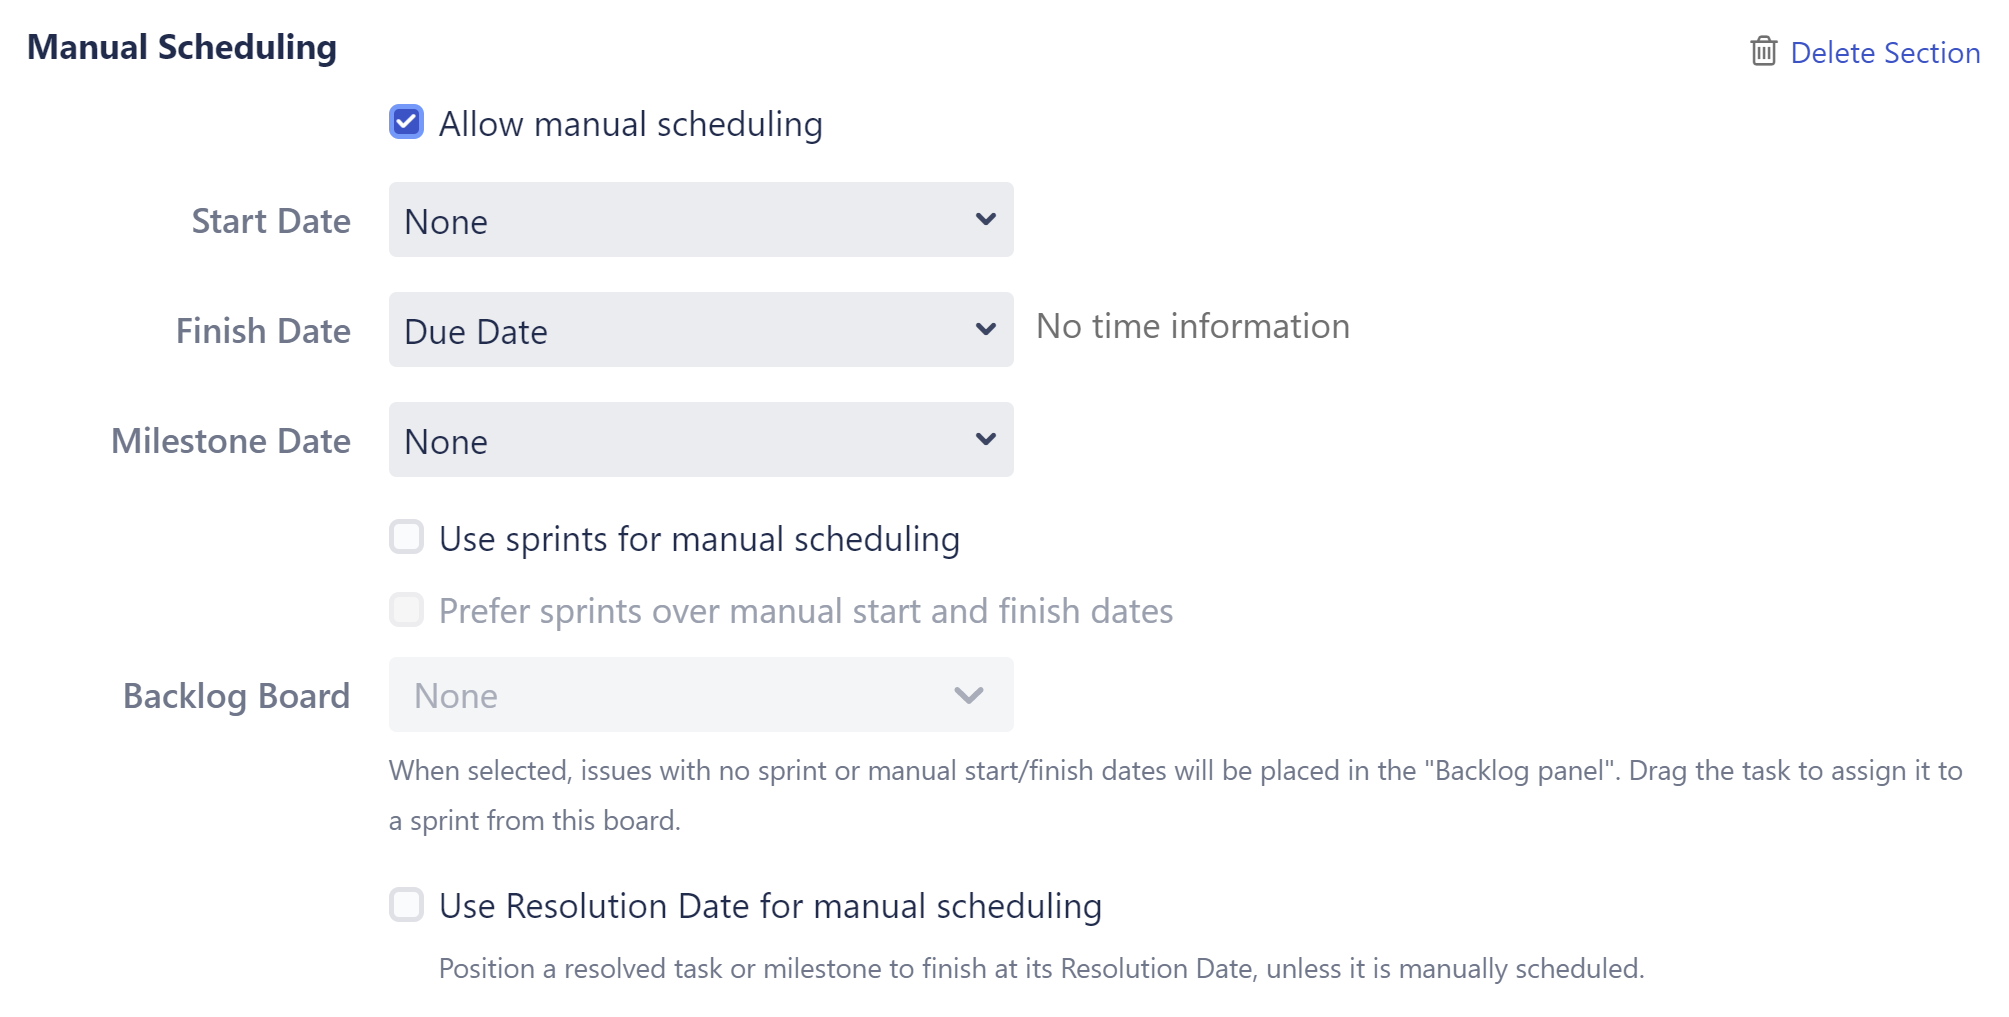
Manual Scheduling
The Manual Scheduling section allows you to override the default scheduling configuration. This can be useful if you have multiple fields for scheduling information or need to prioritize different scheduling methods (automatic, manual or sprint-based) for different sets of issues, or if different teams use different fields for scheduling.
Fixed Durations
You can specify where fixed duration values are stored for issues within the slice, and the format of those values.

To learn more about fixed duration attributes, see Fixed Duration
Dependencies
You can set up custom link types to be used with each type of dependency within your slice.
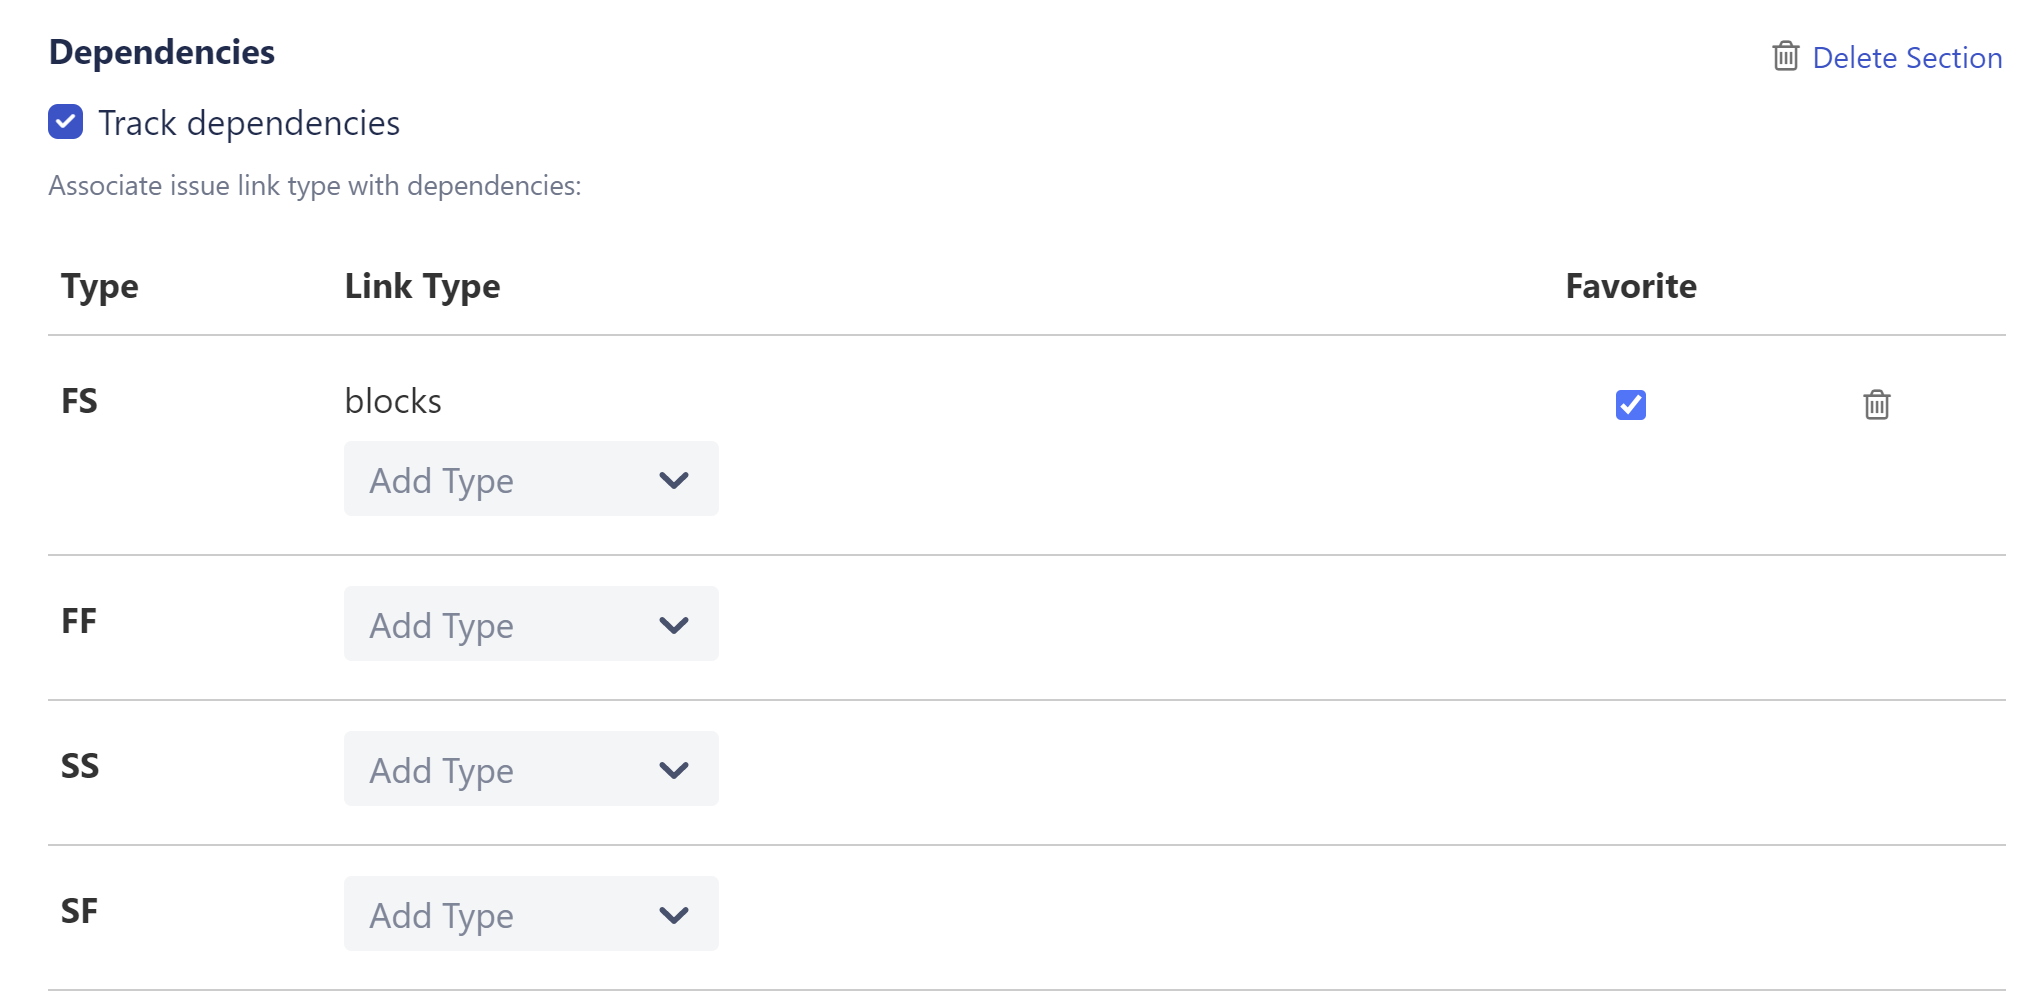
To set a default link type for a dependency type, check the Favorite box.
To learn more about using dependencies, see Working with Dependencies. To learn more about configuring dependencies, see Dependencies Configuration.
Lead/Lag Times
You can also set up custom Lead or Lag times for each dependency type within your slice.
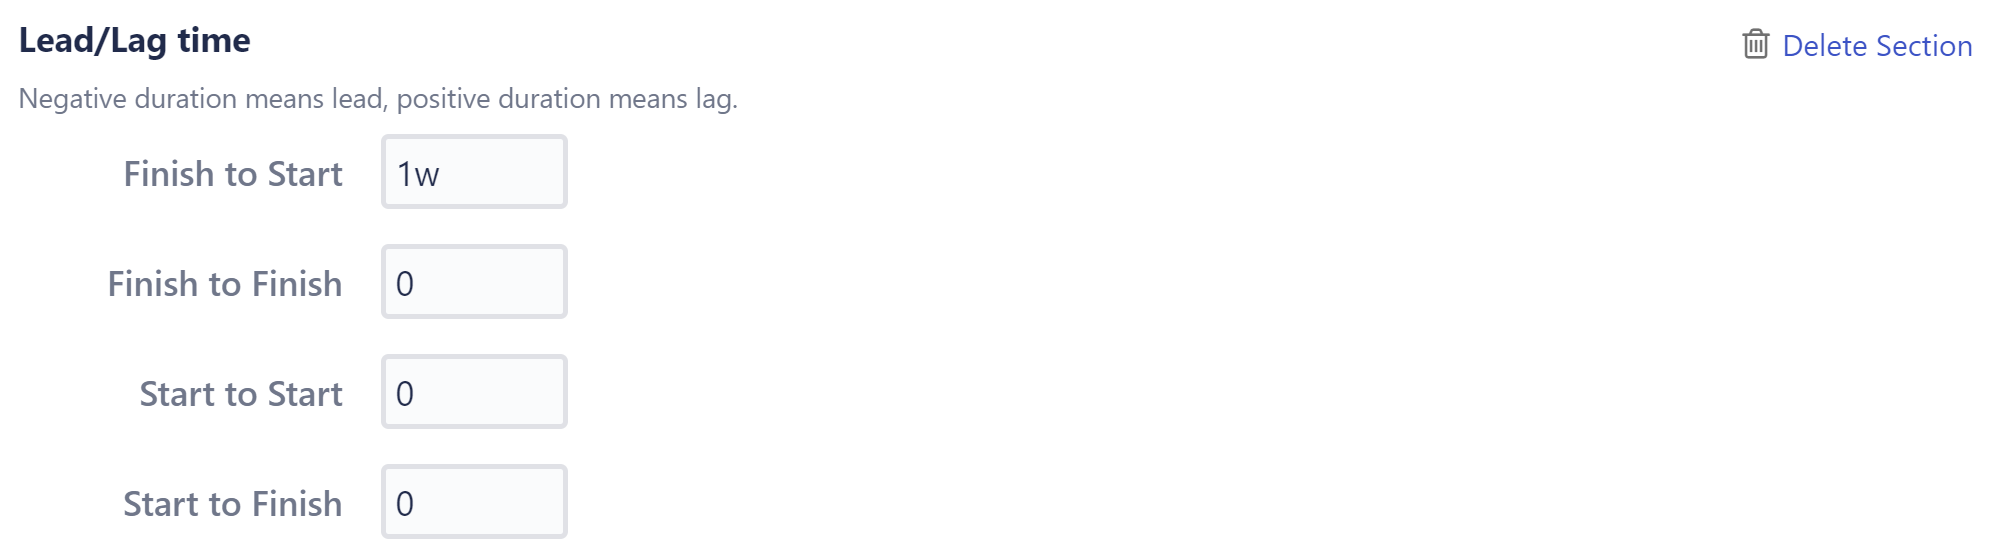
To learn more, see Dependency Lead/Lag Time.
Resource Assignment
You can set a unique resource attribute, which is used to assign resources to tasks.

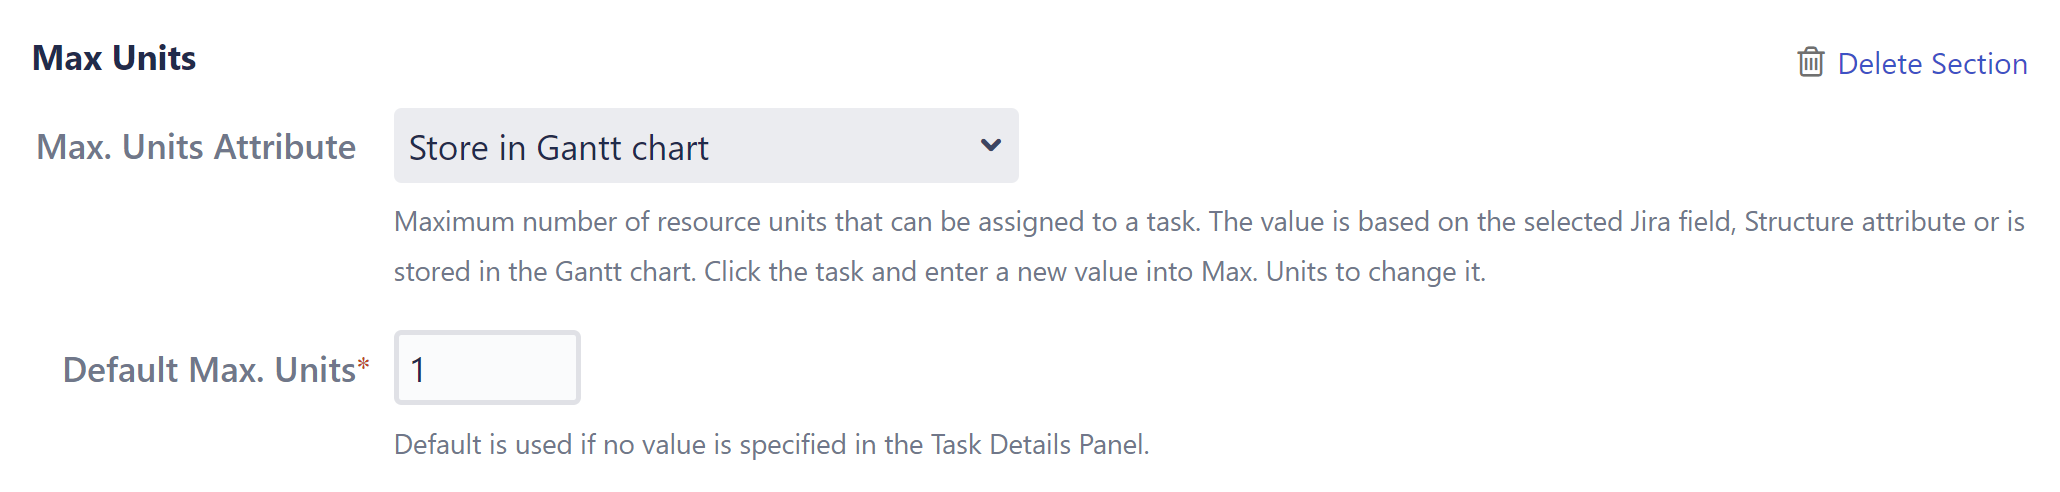
Max Units
You can configure unique maximum unit settings to customize how resources are allocated for tasks.
Leveling Priority
This section allows you to set custom leveling priorities.
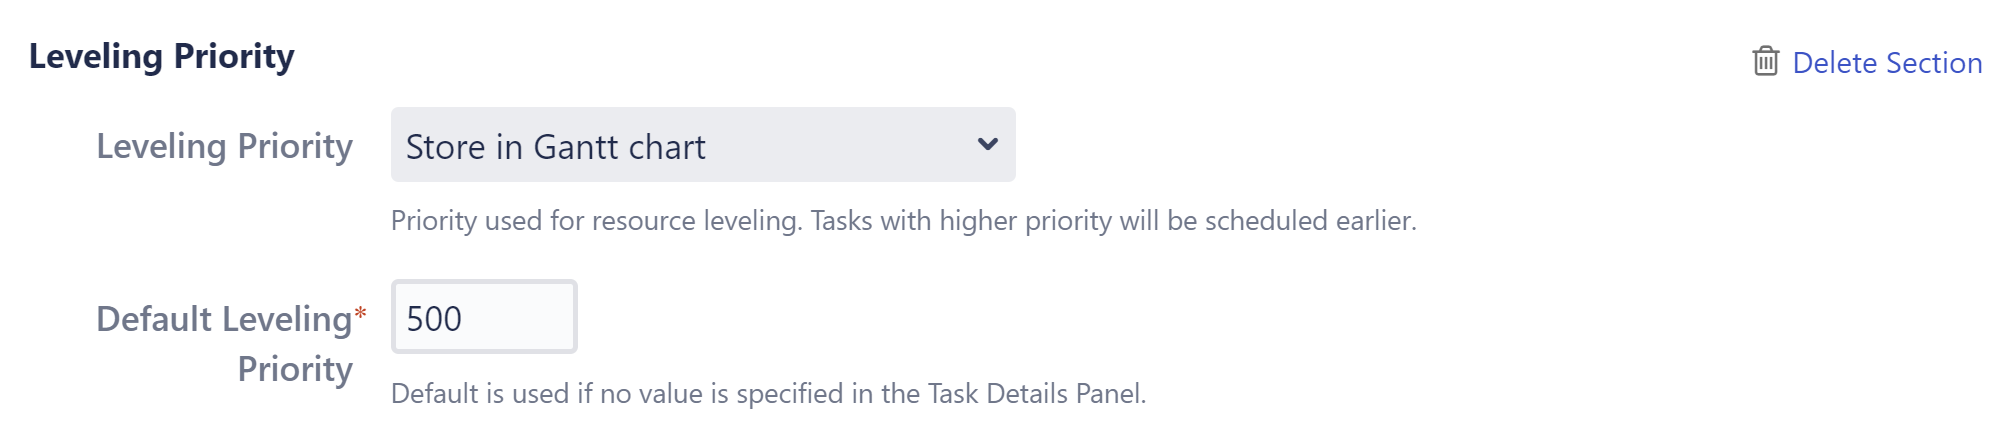
To learn more about leveling priorities, see Resource Leveling.
Appearance
You can create a custom color scheme for each slice, under the Appearance section.
- Color Scheme - Select the standard color for items in your chart. You can use choose one of the 6 provided colors, or click CUSTOM to select a custom color.
- Fill color - Enter a custom color, either using the color picker or typing its Hex value.
- Progress color - Progress can be displayed as a dark or light color over the taskbar. If you select Auto, Structure.Gantt will pick the option that provides the most contrast to your color scheme.
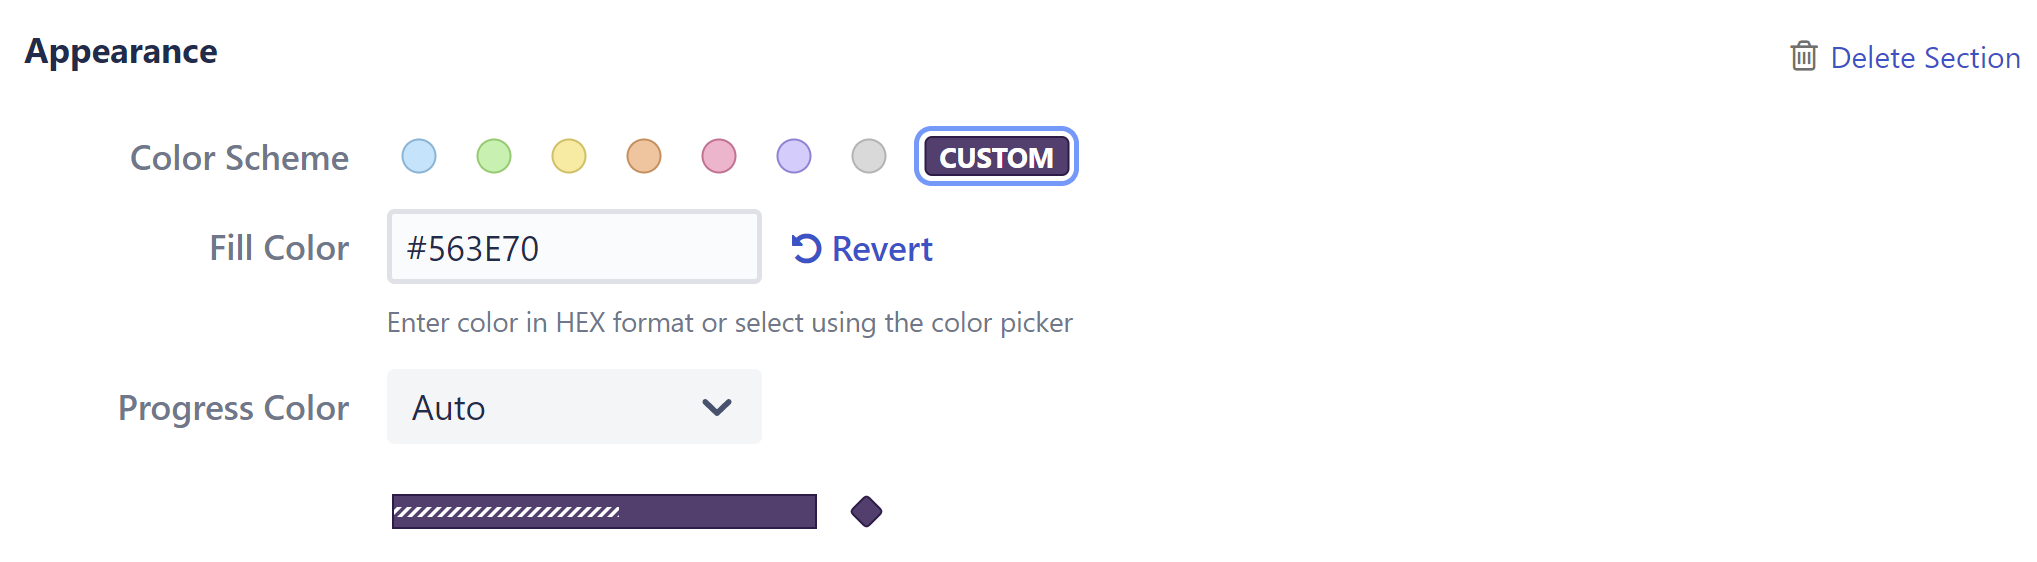
The color scheme you select will be applied to all issues or milestones that match the slice criteria.
Item Behavior
Item Behavior allows you to specify the type of item an issue will be displayed as within your Gantt chart.
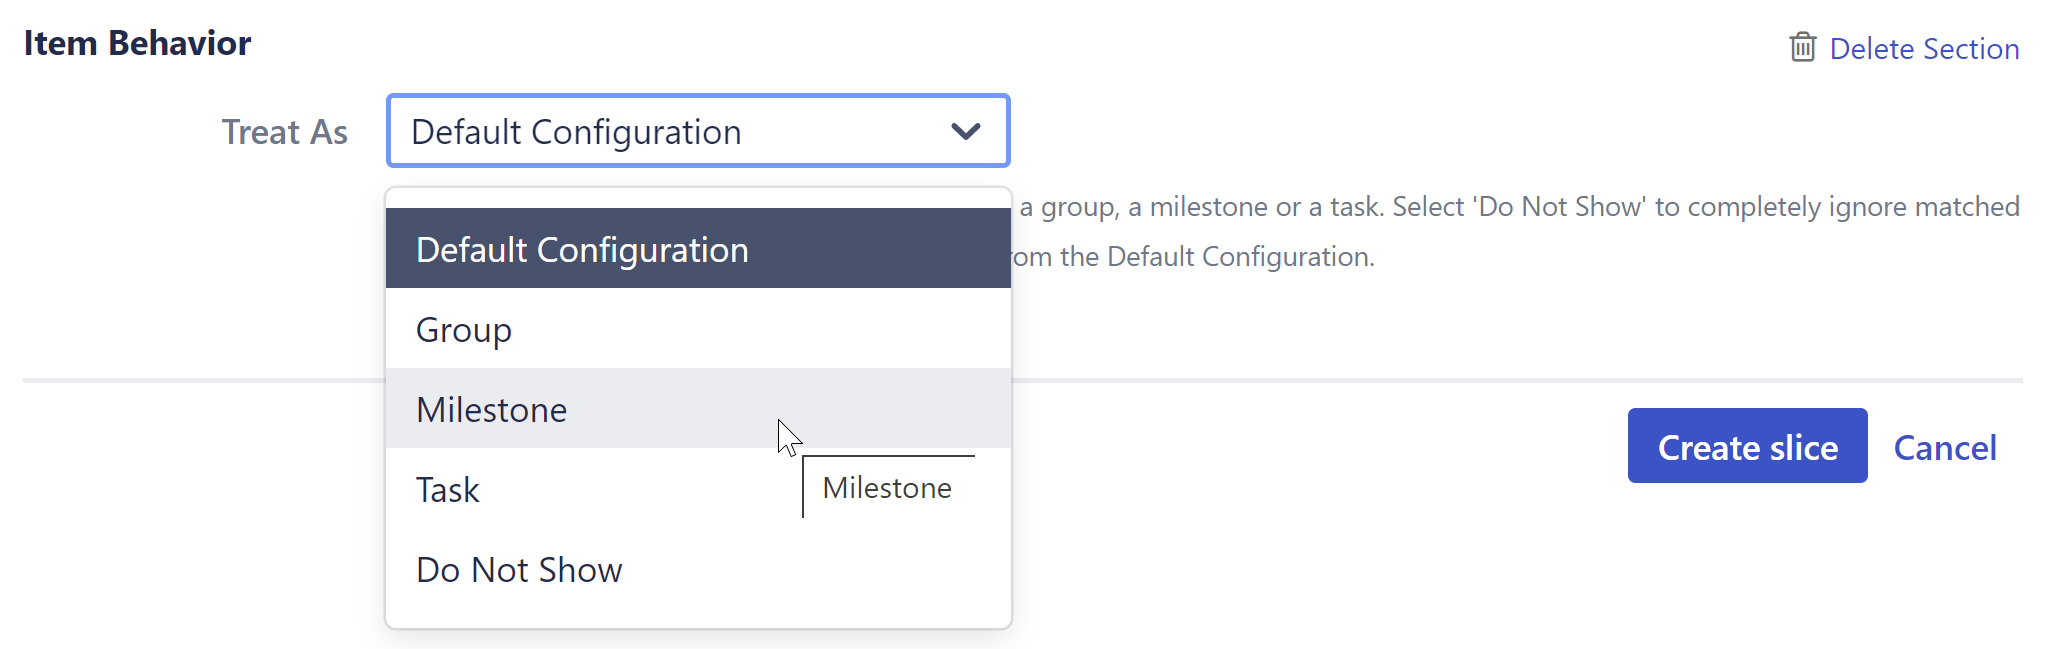
- Default Configuration - If this option is selected (default), issues matching the slice criteria will be displayed based on the default configuration.
- Group - This will display matching issues as groups, containing all their sub-issues.
- Milestone - This will convert matching issues into milestones and place them in the chart at their Due Dates. Note: The Due Date will be calculated automatically, unless one is manually set.
- Task - This will display matching issues as task bars. This can be useful if you have selected Grouping for your general configuration and want to display specific parent issues as task bars instead of groups - for example, you may want to display Epics as task bars, but Stories with sub-issues as groups.
- Do Not Show - This will remove the issues from your Gantt chart.