Using the Manage Statuses page, Admins can:
To access the Manage Statuses page, go to Administration | Structure | Structure Testy | Manage Statuses or click the Get Started button for the Testy plugin on the Manage apps page.
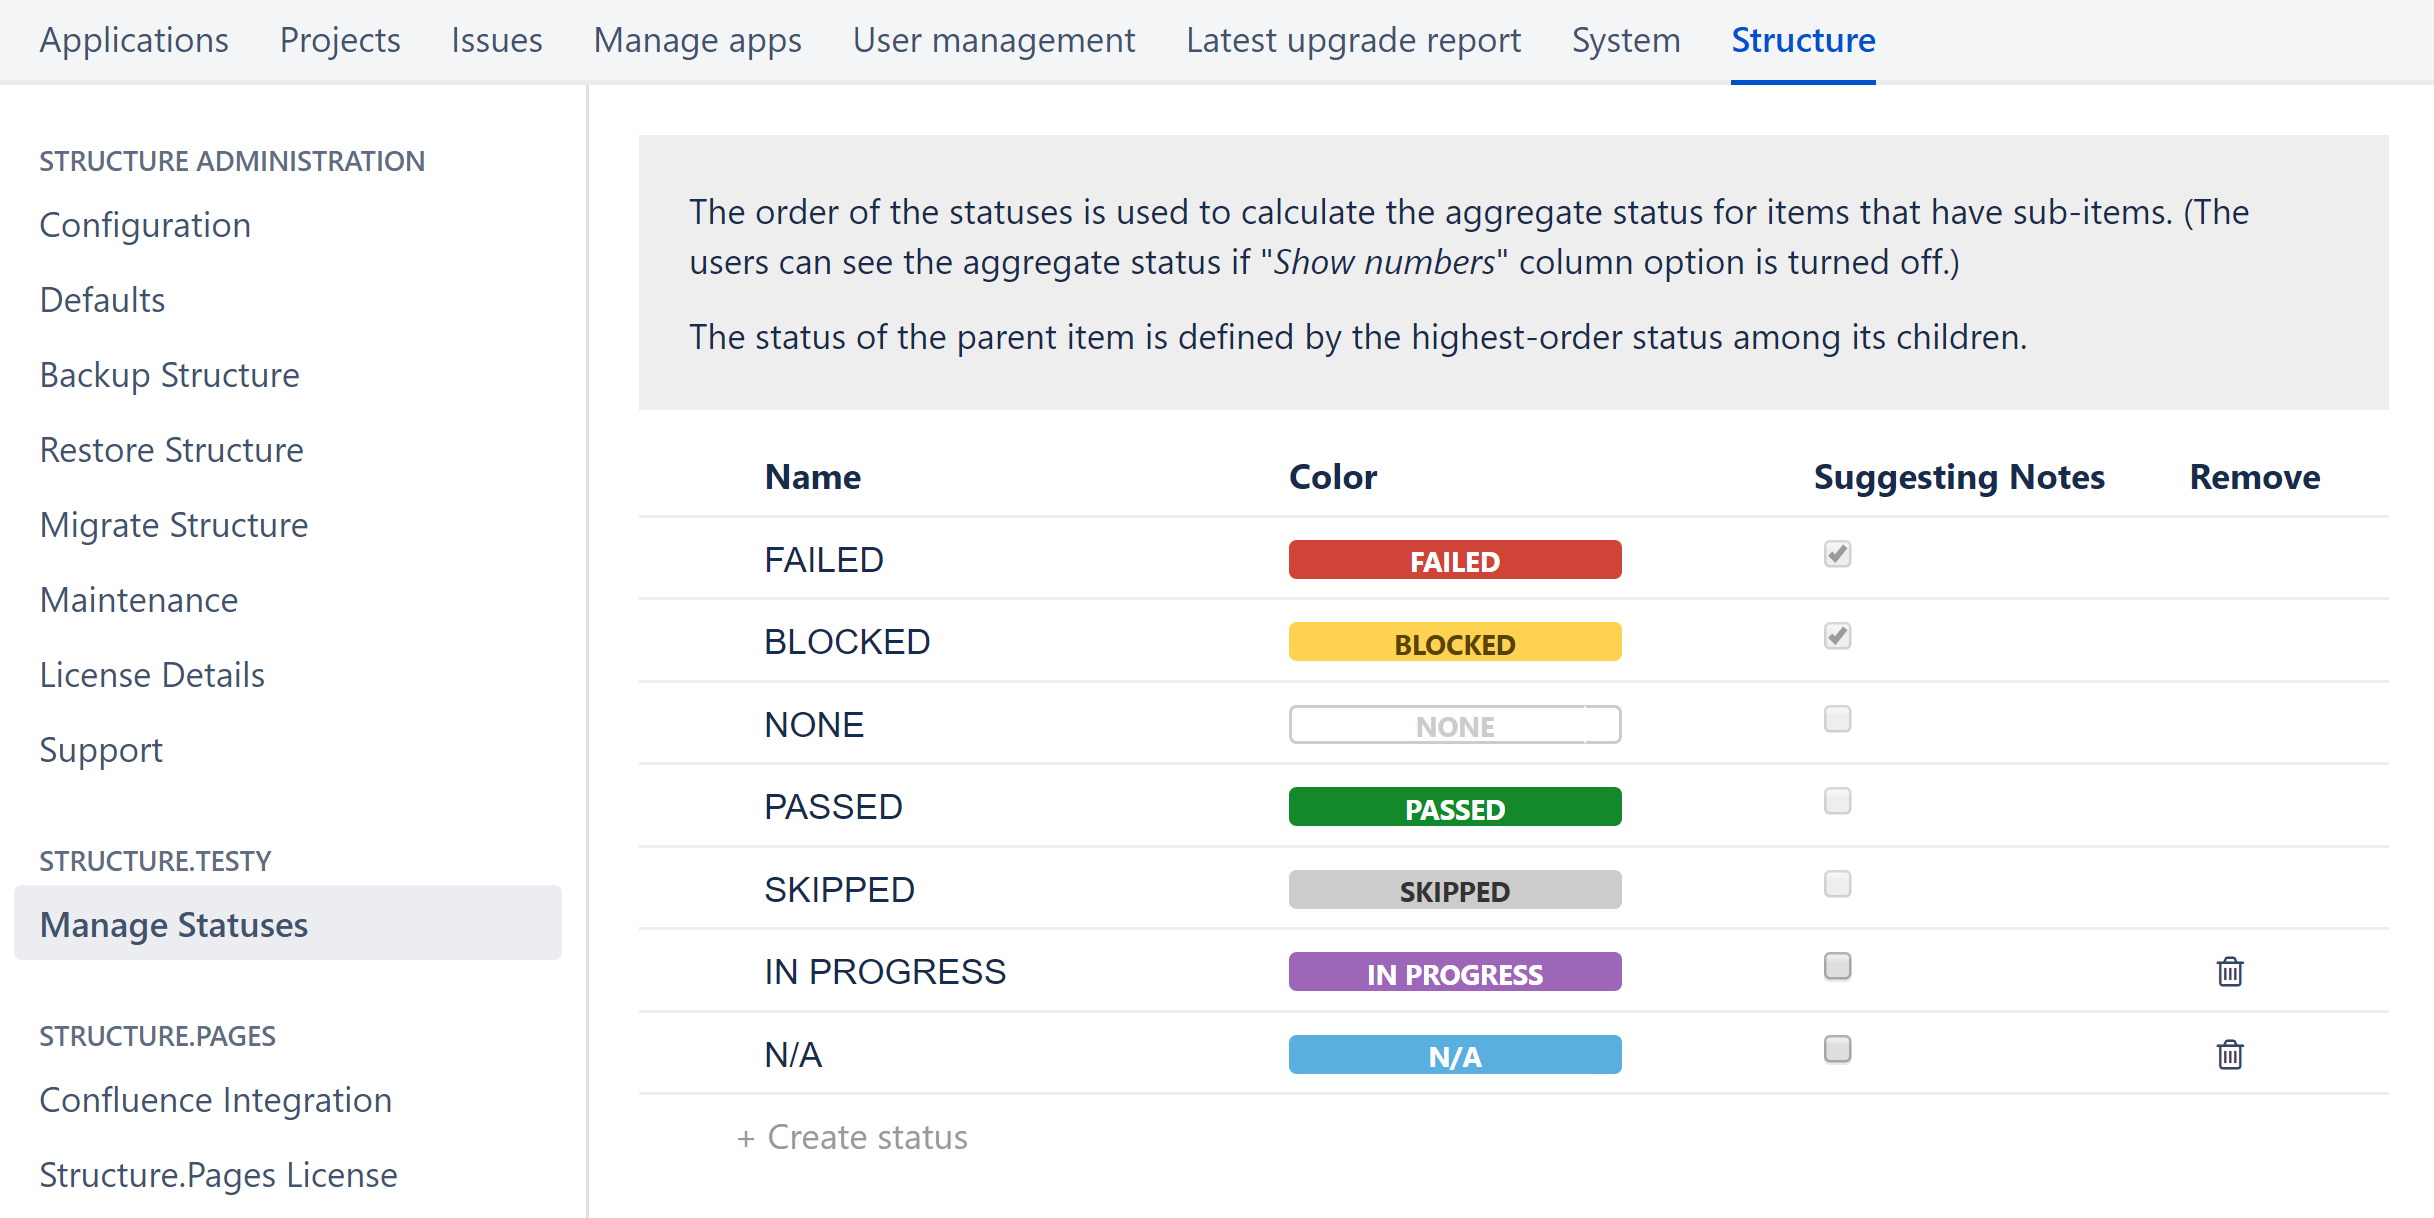
You must have jira-administration permission to view the Manage Statuses page.
Create New Custom Statuses
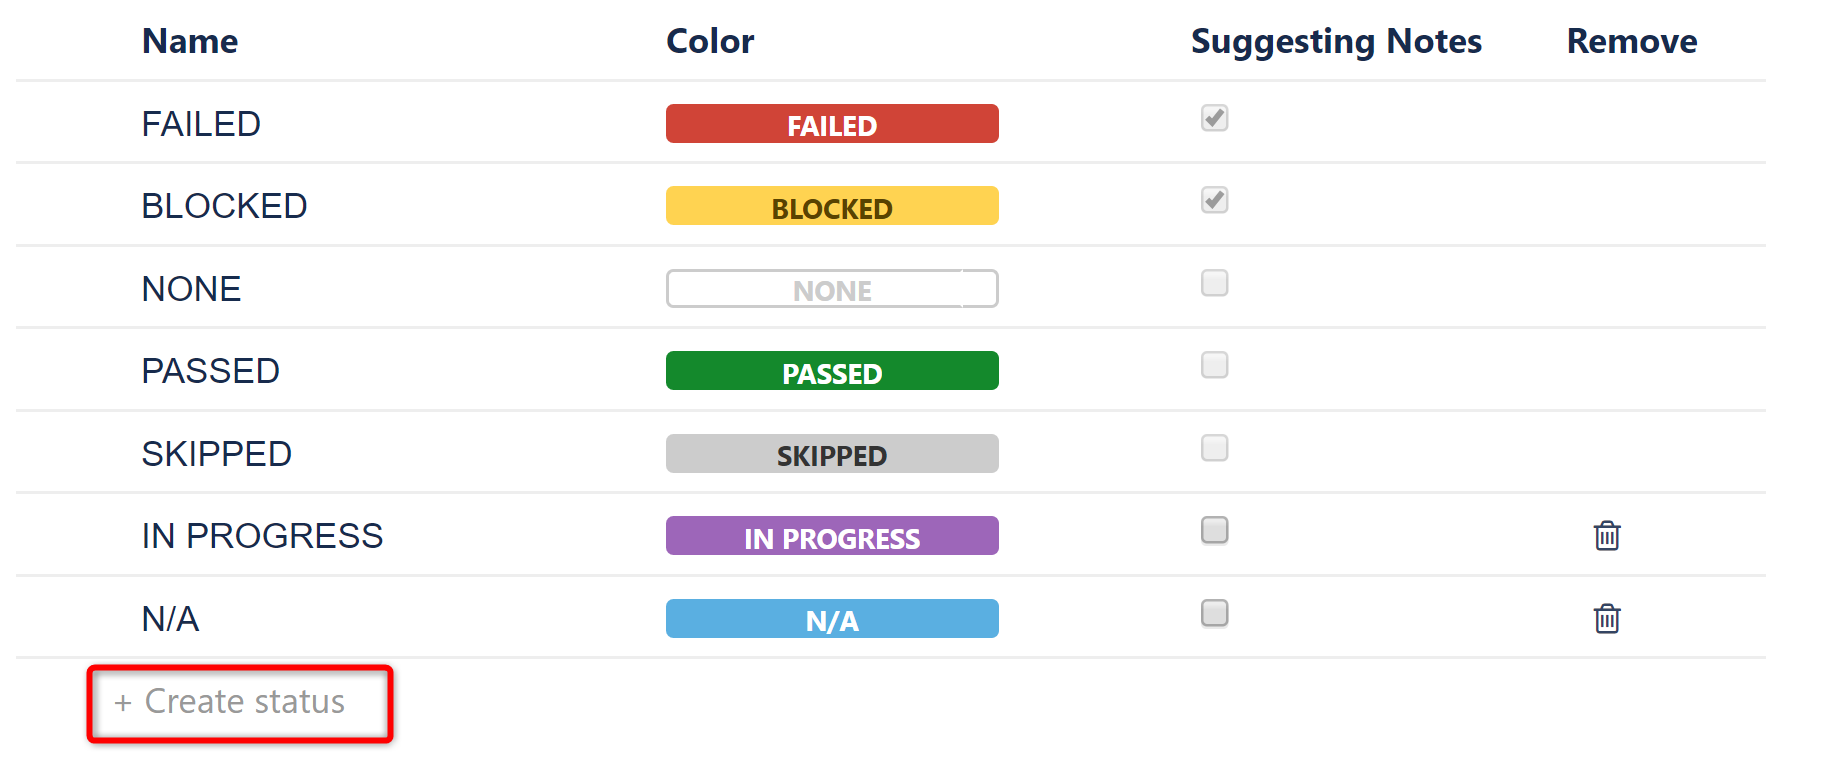
To create a new status, click the +Create status button. Enter a name for the new value and (optionally) choose its color. When you are finished, press the Enter key.
Update the Status Color
To change the color of a custom status, simply click the current color and select from one of the colors in the dropdown.
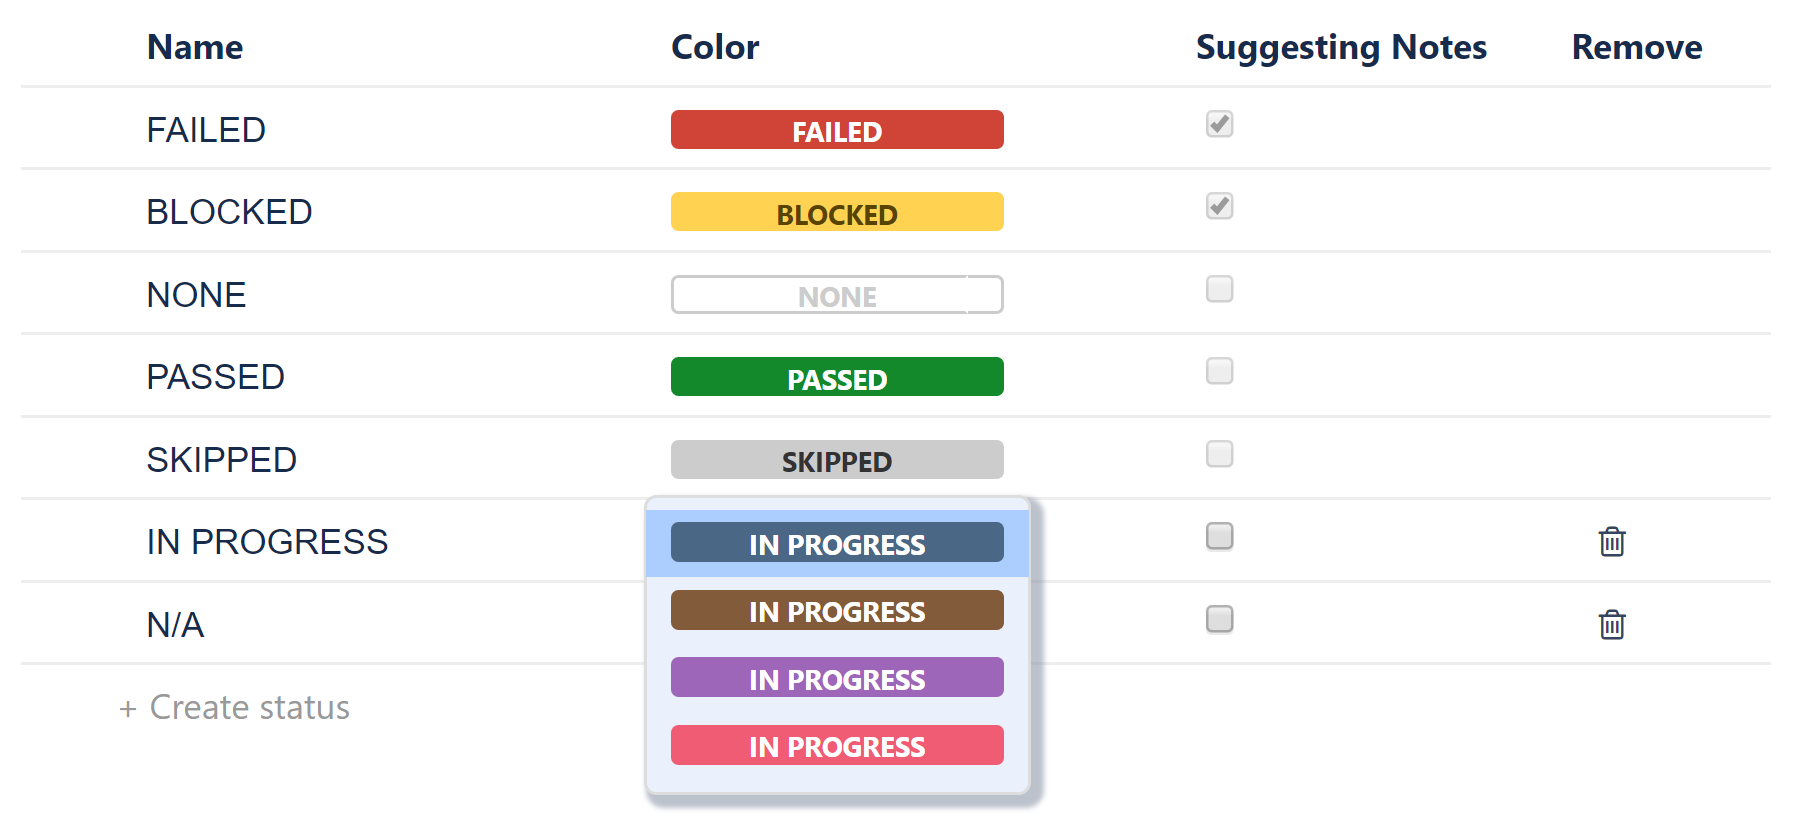
You cannot change the color of the default statuses.
Determine Which Statuses Should Prompt for Notes
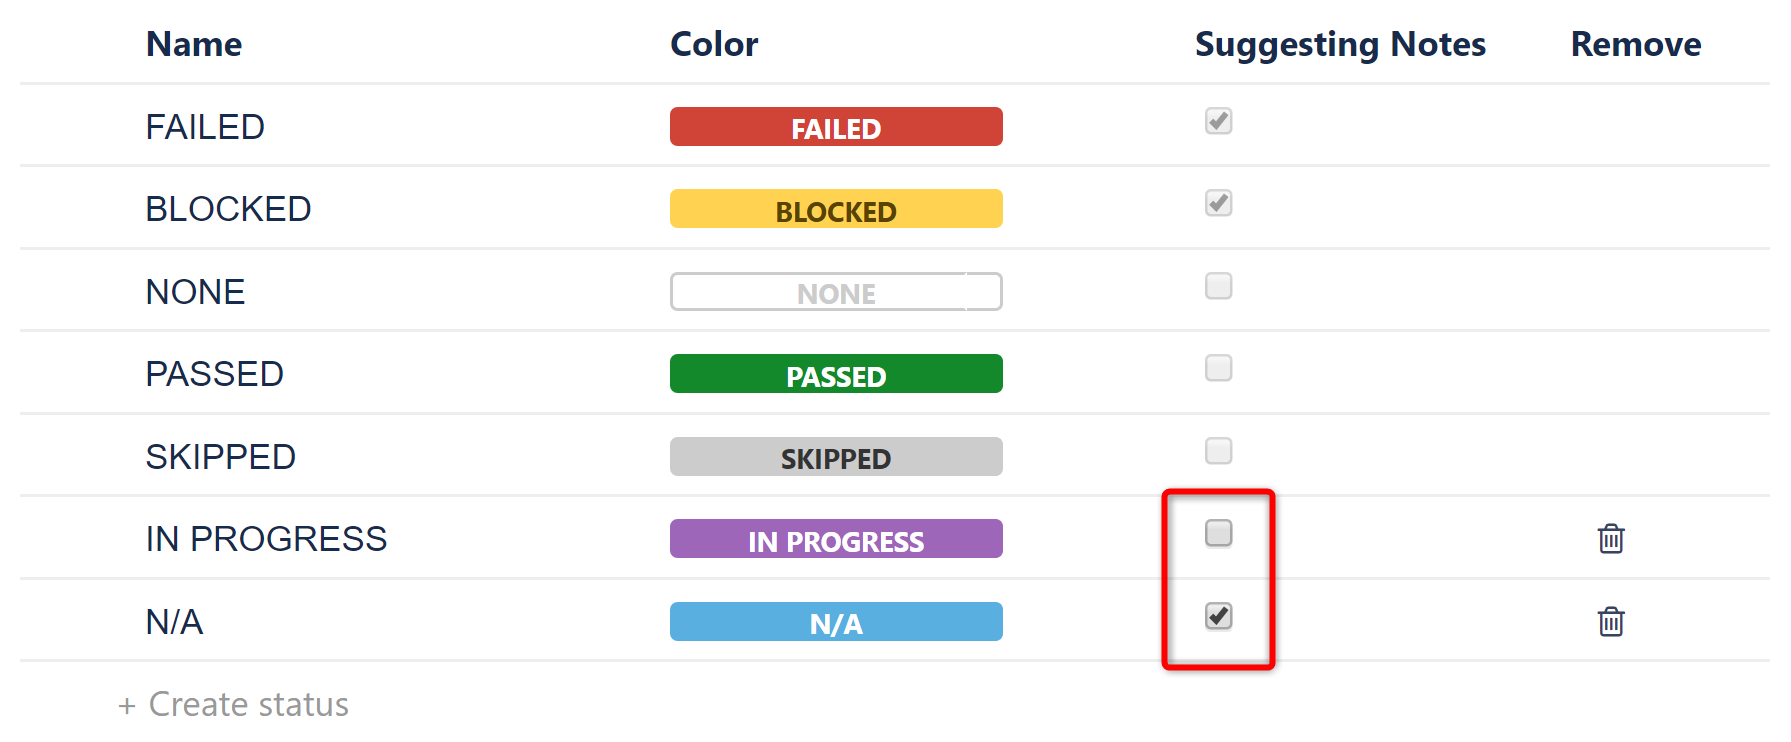
The Suggesting Notes column allows you to select which custom statuses should auto-prompt users to enter a note, if the Auto expand notes for notes-suggesting statuses option was selected for the Test column.
Delete Custom Statuses
To remove a custom status, click the trashcan to the right of its row.
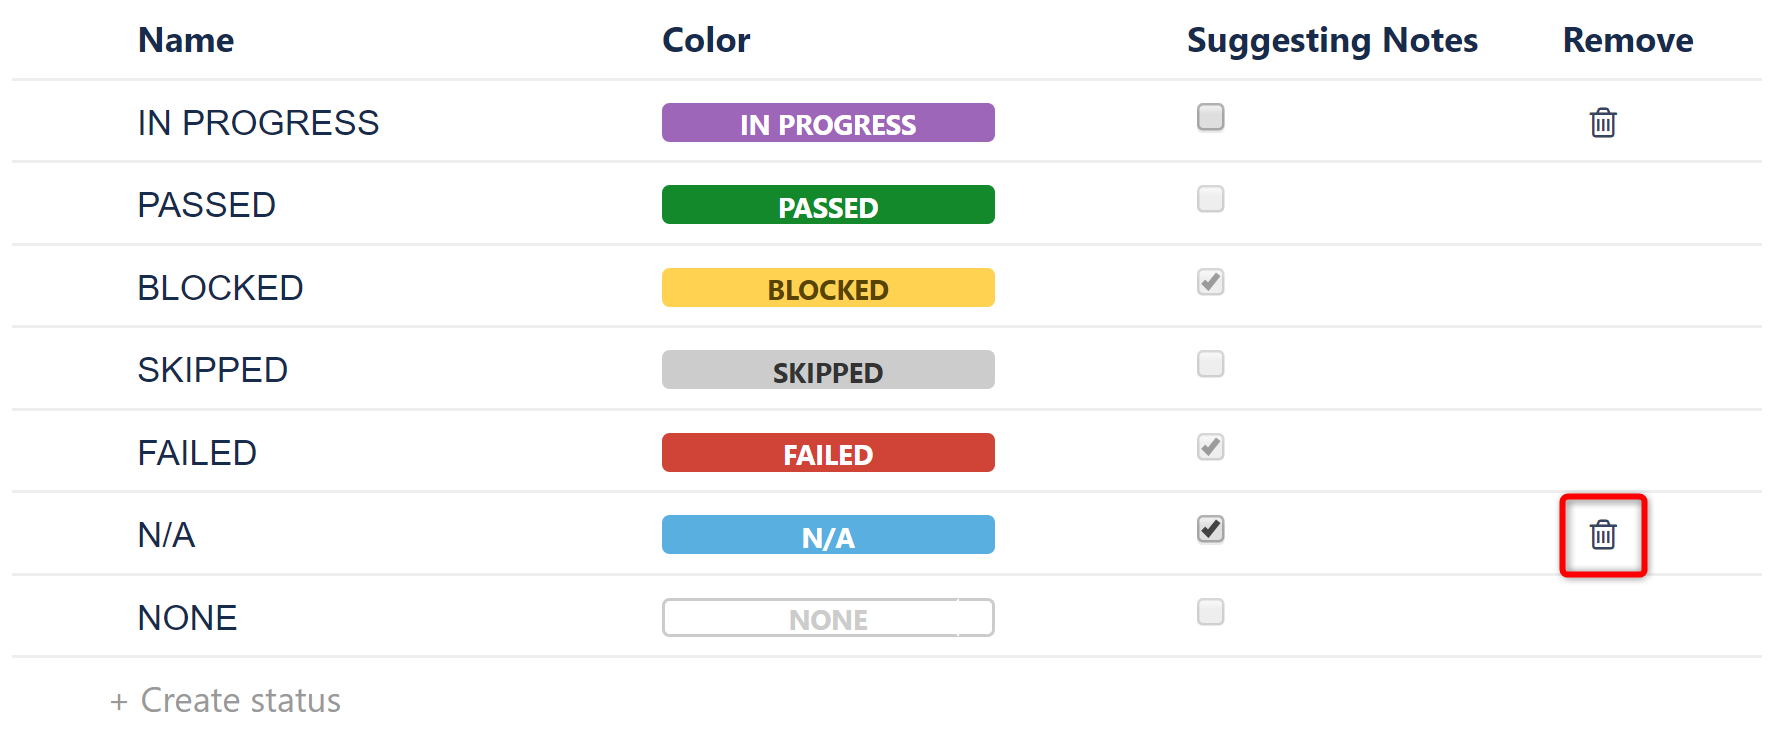
The removed status will be replaced with ‘None’ in test run columns.
You cannot delete default statuses.
Reorder Statuses
The order of the statuses on this page is used to calculate the aggregate status for items that have sub-items (if the “show numbers” option on the column settings screen is unchecked). The status of the parent item is defined by the highest-order status among its children.
To change this order, hover over a status until the drag bar appears, and then drag the status to its new location.
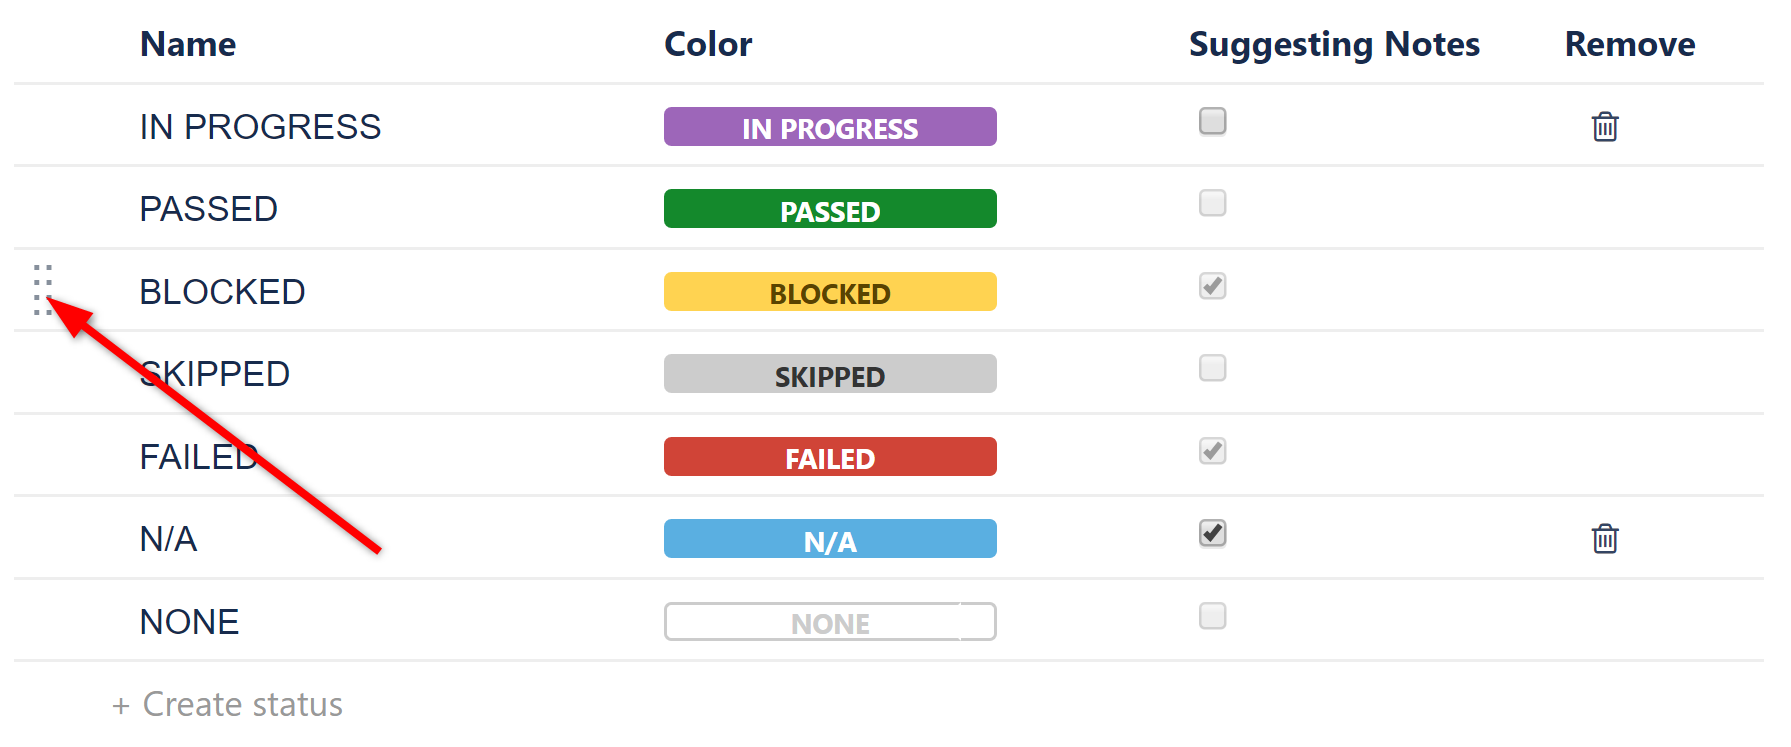
This does not affect the order the statuses appear in the dropdown menu when selecting an issue's status.